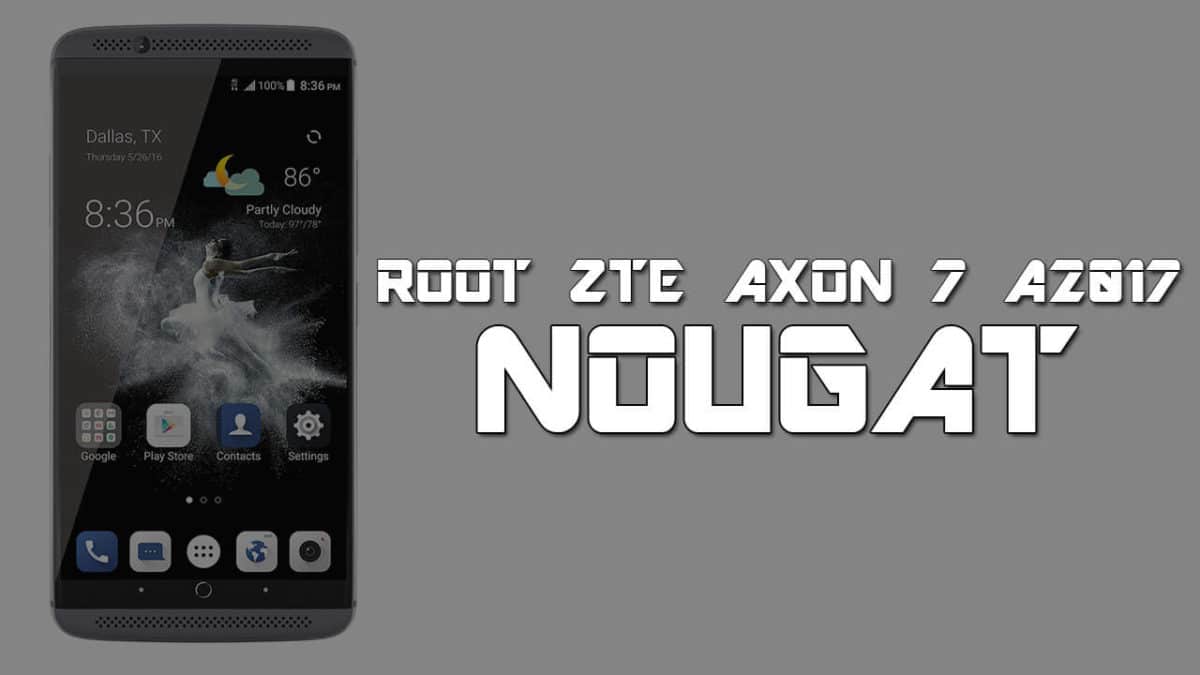
Team Win Recovery Project or the TWRP is an entirely touch-based custom recovery which initially was developed for Nexus devices, but by today it has been made available for countless other smartphones and tablets, in form of both official and third-party builds as well. The touchscreen-enabled interface allows the users to install third-party firmware and backup the current system, which are often unsupported by stock recovery images This post will be describing in detail on how to install the TWRP and root the ZTE Axon 7 A2017. This TWRP recovery is only for the ZTE Axon 7 A2017U model number. If you are using any other Axon 7 with a different model, do not install this TWRP recovery build image. Very Special thanks to djkuz from the 4pda forum and parazite69 over Xda for this guide.Now follow the given steps to Install TWRP Recovery and root ZTE AXON 7 A2017 On Nougat (Android 7.1.1)
Disclaimer:
RootMyGalaxy.net is not responsible for any damage happened to your device(s) while following this guide. Proceed at your own risk.
How To Install TWRP Recovery and root ZTE AXON 7 A2017 On Nougat (Android 7.1.1)
Open recovery i.e. TWRP. Reset the factory data. Additional wipes may be needed as well – Clean installation. Install the ZIP file: ZTE_A2017V1.1.0B10_Nougat_Full_by_djkuz.zip Install the ZIP file: no-verity-opt-encrypt-5.1.zip ( 1,04 mb ) Erase the cache or dalvik. After loading the system, check for its proper functioning. Install all the apk’s files required for Google services which are contributed by Snowy88.
Flashing SuperSU (rooting the device):
Return to the recovery i.e. TWRP. Install SuperSU 2.79 ( 5,65 mb) Erase cache or dalvik. Input the following command In the terminal of TWRP:
Once done, reboot your device. To check root access download root checker app from the playstore
[appbox googleplay com.joeykrim.rootcheck&hl=en]